Understanding how fiberglass pools are installed is essential before you commit to your backyard project. Unlike concrete pools that take months to build, fiberglass pool installation is a streamlined process that typically takes just 2-4 weeks from excavation to your first swim. This step-by-step guide explains exactly how fiberglass pools are installed, what to expect at each stage, timelines, costs, and how to ensure your installation goes smoothly in 2026.
- Total Timeline: 2-4 Weeks: From the day excavation begins to your first swim, a fiberglass pool installation takes a fraction of the time required for concrete. Your backyard is a construction zone for weeks, not months.
- Factory-Built Quality: Your pool shell is manufactured under controlled conditions, engineered to precise specifications. It arrives at your property ready to install, eliminating the quality variability inherent in on-site construction.
- The Shell Set Is the Most Dramatic Day: Watching a crane lower a complete pool shell into your backyard is something homeowners never forget. It takes just a few hours and transforms your yard instantly.
- Proper Backfill Is Critical: The quality of the backfill material and process around the shell is the single most important factor in the long-term performance of a fiberglass pool. This is where experienced installers earn their reputation.
- Permits Vary Dramatically by Region: Texas and Florida approvals can happen in 1-2 weeks. California, New York, and New Jersey can take 4-12 weeks. Plan accordingly.
- Prepare Your Property: Clear access paths, mark utilities, remove fencing sections, and plan for where excavated soil will go. Preparation prevents delays and additional costs.
Why Understanding How Fiberglass Pools Are Installed Matters (and Faster)
The fiberglass pool installation process is fundamentally different from building a concrete pool, and understanding why explains the dramatic timeline advantage.
A concrete pool is built entirely from scratch on your property. Steel rebar is formed by hand, concrete is sprayed or poured, then the structure cures for weeks before surface finishing even begins. Every concrete pool is a unique construction project subject to weather delays, crew scheduling, material availability, and the inherent unpredictability of complex on-site work.
A fiberglass pool is manufactured in a controlled factory environment weeks or months before it arrives at your property. Multiple layers of hand-laid fiberglass mat, structural resin, and premium gelcoat are applied and cured under ideal conditions. When the shell arrives at your home, it is a finished, ready-to-install product. The on-site work is focused entirely on excavation, setting, connecting, and finishing.
This approach delivers two major advantages: speed (2-4 weeks versus 3-6 months) and consistency (factory quality control versus jobsite variability). For homeowners in seasonal climates like Ohio, Michigan, Pennsylvania, New York, and Colorado, the compressed timeline often means the difference between enjoying a pool this summer and waiting an entire year.
Before Installation Begins
Choosing Your Pool Model
The first step is selecting the right fiberglass pool model for your property, lifestyle, and budget. Consider the size of your yard, how you plan to use the pool (family recreation, exercise, entertaining), and which features matter most to you (tanning ledge, bench seating, attached spa, beach entry). ModernXPools offers 14 models ranging from compact 10×20 plunge pools to expansive 16×40 resort designs.
Site Assessment and Survey
Before any work begins, your builder conducts a thorough site assessment. This includes measuring the property, identifying the optimal pool location, checking soil conditions, locating underground utilities, evaluating access routes for equipment and the pool shell delivery truck, and assessing drainage patterns. A professional survey ensures the pool is positioned correctly relative to property lines, setback requirements, and existing structures.
Permits and HOA Approvals
Every pool installation requires permits. The timeline and complexity vary significantly by location:
- Fast-track states (Texas, Florida, Arizona, Tennessee, Georgia, North Carolina): 1-3 weeks, fees typically $200-$800
- Moderate states (Ohio, Indiana, Virginia, Maryland, Colorado, Oregon): 2-4 weeks, fees $500-$1,500
- Complex states (California, New York, New Jersey, Massachusetts, Connecticut, Illinois): 4-12 weeks, fees $1,000-$3,000+
If you live in an HOA community, submit your application to the HOA early. HOA approvals often take longer than municipal permits and are a common source of delays.
Preparing Your Property
There are several things you can do to prepare your property and prevent delays:
- Clear the access path from the street to the backyard. The delivery truck needs an opening at least 10-12 feet wide.
- Remove fence sections, gates, or other obstructions along the access route.
- Call 811 to have underground utilities marked (gas, electric, water, sewer, cable, internet).
- Plan where excavated soil will go. Some homeowners use it for landscaping; others have it hauled away.
- Secure pets and inform neighbors about the construction timeline.
- Identify locations for the equipment pad, electrical panel, and any gas lines for heaters.
Pro Tip: The most common cause of installation delays is access problems. If the pool shell cannot reach the backyard, crane services may be required, adding $3,000-$15,000 to the project. Discuss access with your builder during the initial consultation to avoid surprises.
The 8-Step Fiberglass Pool Installation Process
Step 1: Excavation (1-2 Days)
Excavation is the first visible sign that your pool is becoming reality. A skilled operator uses an excavator to dig the hole to the exact dimensions and depth required for your pool model, plus additional space for backfill material. The excavation must match the pool’s contours precisely, as the shell needs uniform support from all sides.
Soil conditions affect this phase significantly. Sandy soil in coastal areas excavates quickly and cleanly. Rocky soil in New England, Tennessee, and parts of Texas may require hydraulic breaking equipment and additional time. Clay soil across the Midwest and Southeast excavates well but can present drainage challenges. High water tables in Florida, coastal Carolinas, and some Gulf states may require dewatering equipment to keep the excavation dry.
Step 2: Gravel Base and Leveling (1 Day)
After excavation, a layer of clean, compacted gravel is spread across the bottom of the hole. This gravel base serves several critical functions: it provides uniform support for the pool shell, facilitates drainage beneath the pool, and prevents settling over time. The base is leveled with precision, as the pool must sit perfectly flat to function correctly and look right.
This step may seem simple, but it is one of the most important in the entire process. An uneven base leads to stress points on the shell, potential cracking, and leveling problems that are extremely difficult to correct after the pool is set.
Step 3: Shell Delivery and Placement (1 Day)
This is the most dramatic day of the installation. Your fiberglass pool shell arrives on a flatbed truck and is lifted by crane over your house and into the prepared excavation. Watching a complete, finished pool descend into your backyard is a moment most homeowners remember vividly.
The crew guides the shell into exact position, checking alignment, orientation, and level from multiple reference points. Minor adjustments are made using straps and the crane until the shell sits perfectly on the gravel base.
Step 4: Leveling and Backfill (1-2 Days)
With the shell in place, the backfill process begins. This is arguably the most technically important step in fiberglass pool installation. Clean gravel or sand is carefully placed around the pool shell in lifts (layers), being compacted at each stage. Simultaneously, water is added to the pool to equalize pressure between the inside and outside of the shell.
The backfill material must be compacted uniformly to prevent settling, shifting, or bulging. Experienced installers add water and backfill in synchronized stages, maintaining equal pressure throughout. This technique prevents the shell from floating, shifting, or deforming during the process.
Step 5: Plumbing and Equipment (2-3 Days)
Underground plumbing lines are run from the pool to the equipment pad location. Skimmer lines, return lines, main drain lines, and any feature lines (spa jets, water features, bubblers) are all plumbed during this phase. The plumbing is pressure-tested to verify there are no leaks.
Pool equipment is installed on a concrete pad near the pool. This typically includes the circulation pump, filter, heater or heat pump, sanitization system (chlorinator or salt cell), and any automation controls. Equipment selection should be sized correctly for your specific pool volume and feature set.
Step 6: Electrical Work (1-2 Days)
A licensed electrician handles all pool electrical work, which must comply with the National Electrical Code (NEC) and local amendments. Key electrical components include:
- Equipment bonding and grounding (critical safety requirement)
- GFCI-protected circuits for all pool equipment
- Underwater LED lighting connections
- Automation panel wiring
- Dedicated circuit breakers in the main panel
Electrical inspections are required in virtually all jurisdictions before the project can proceed.
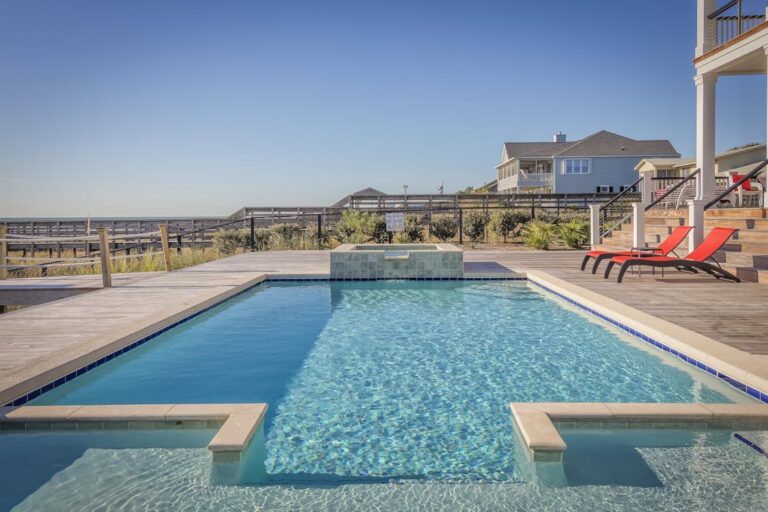
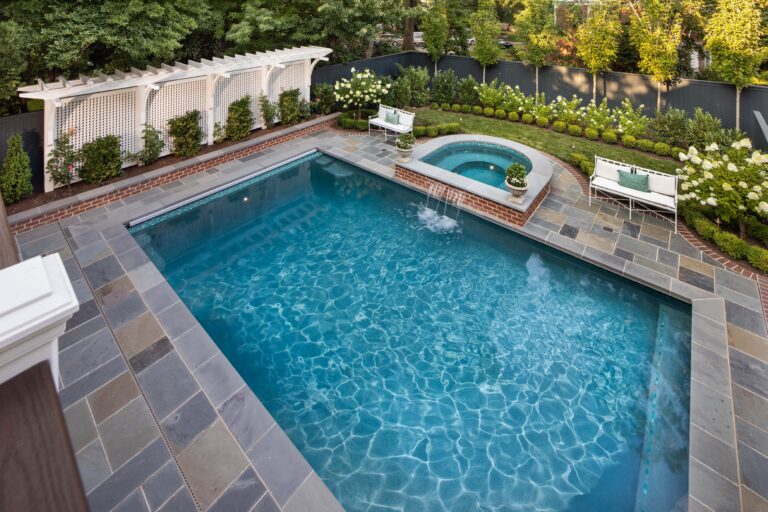
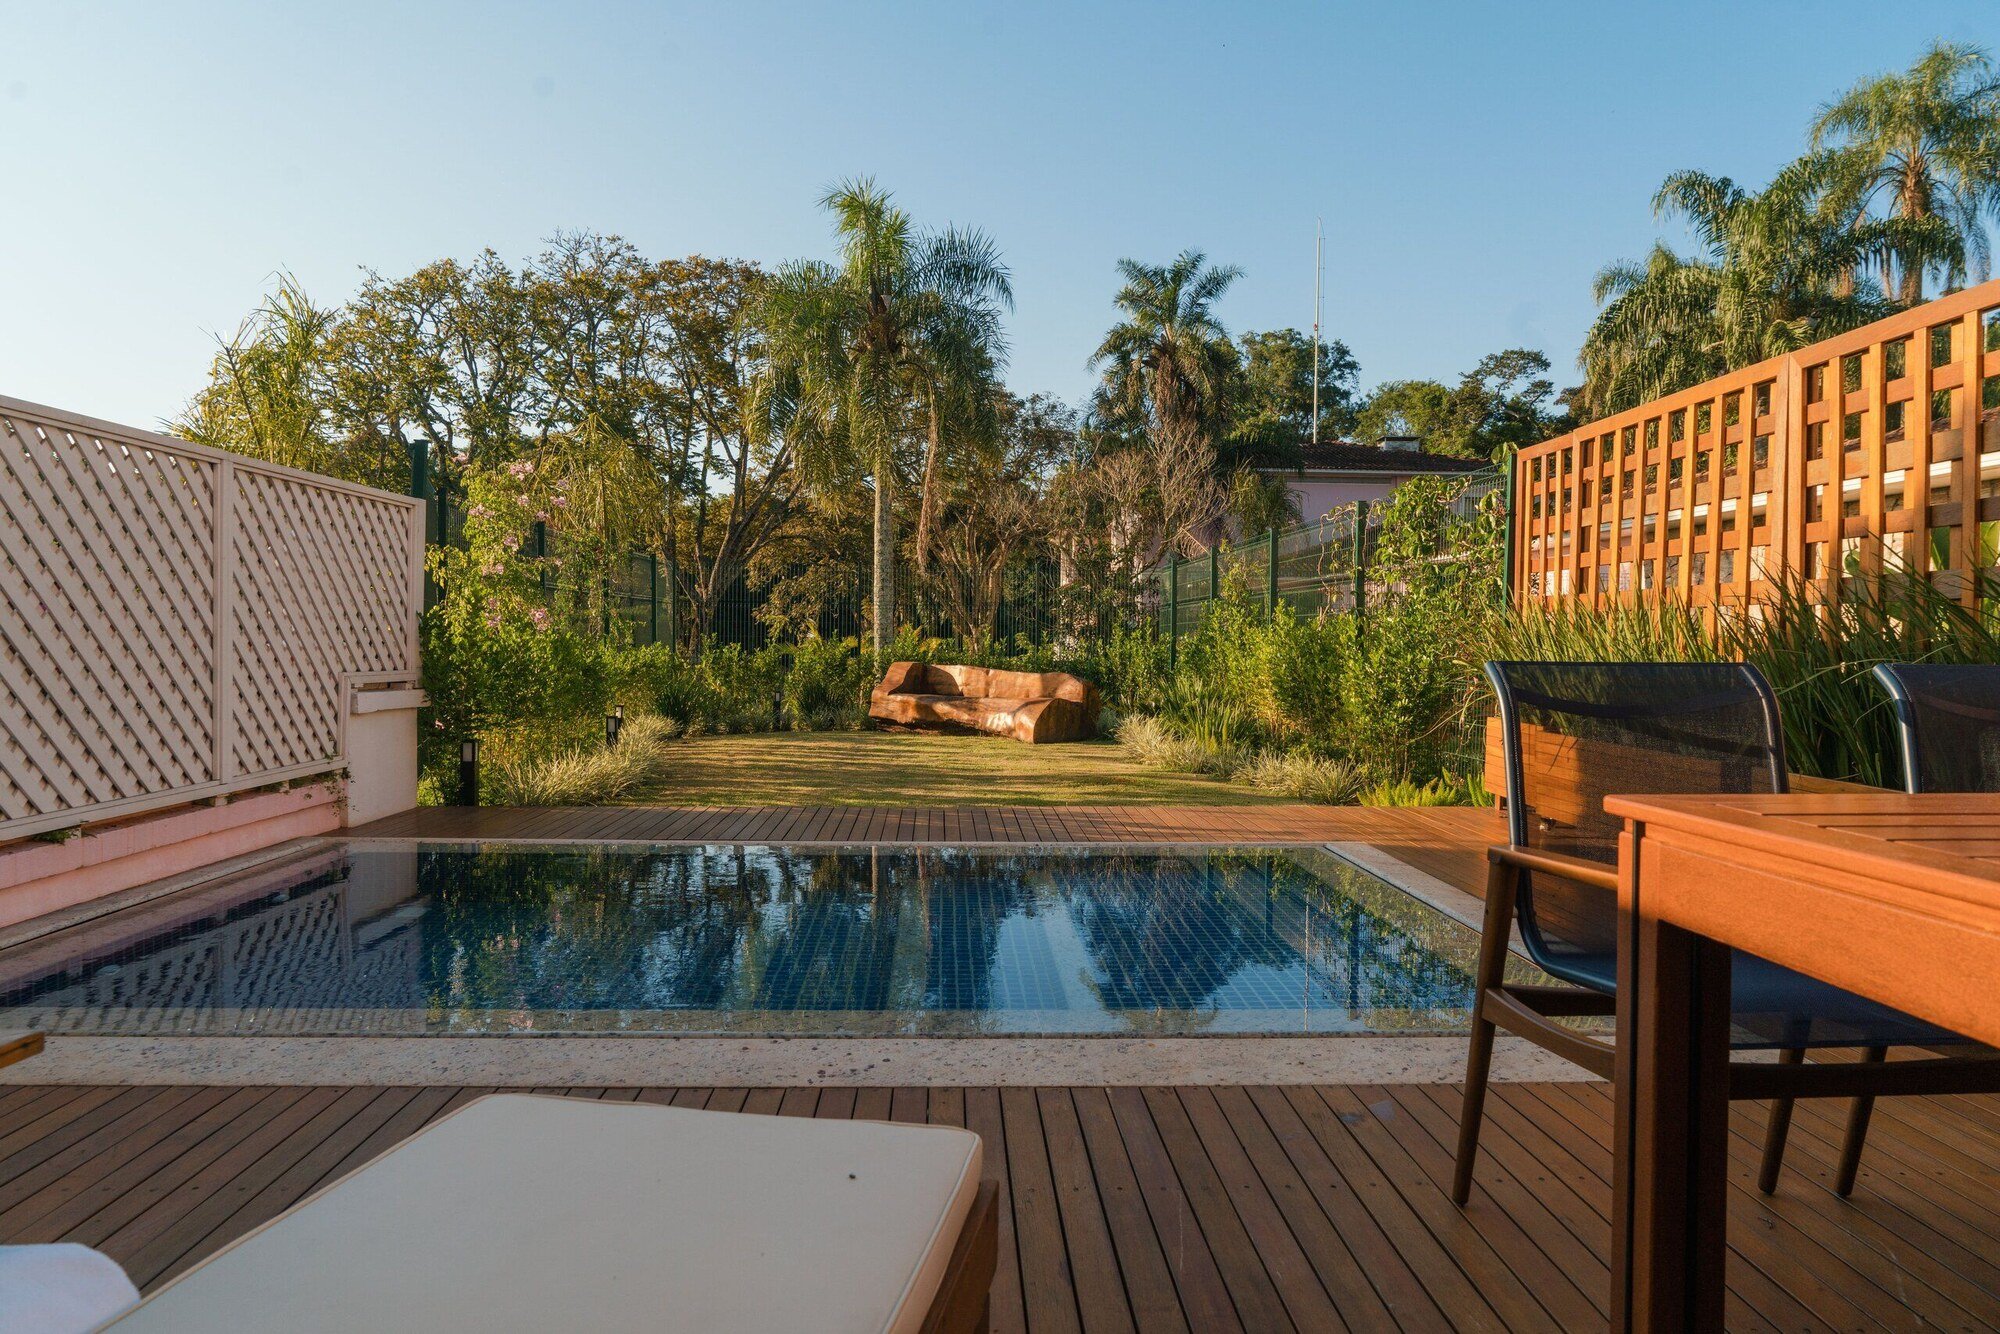
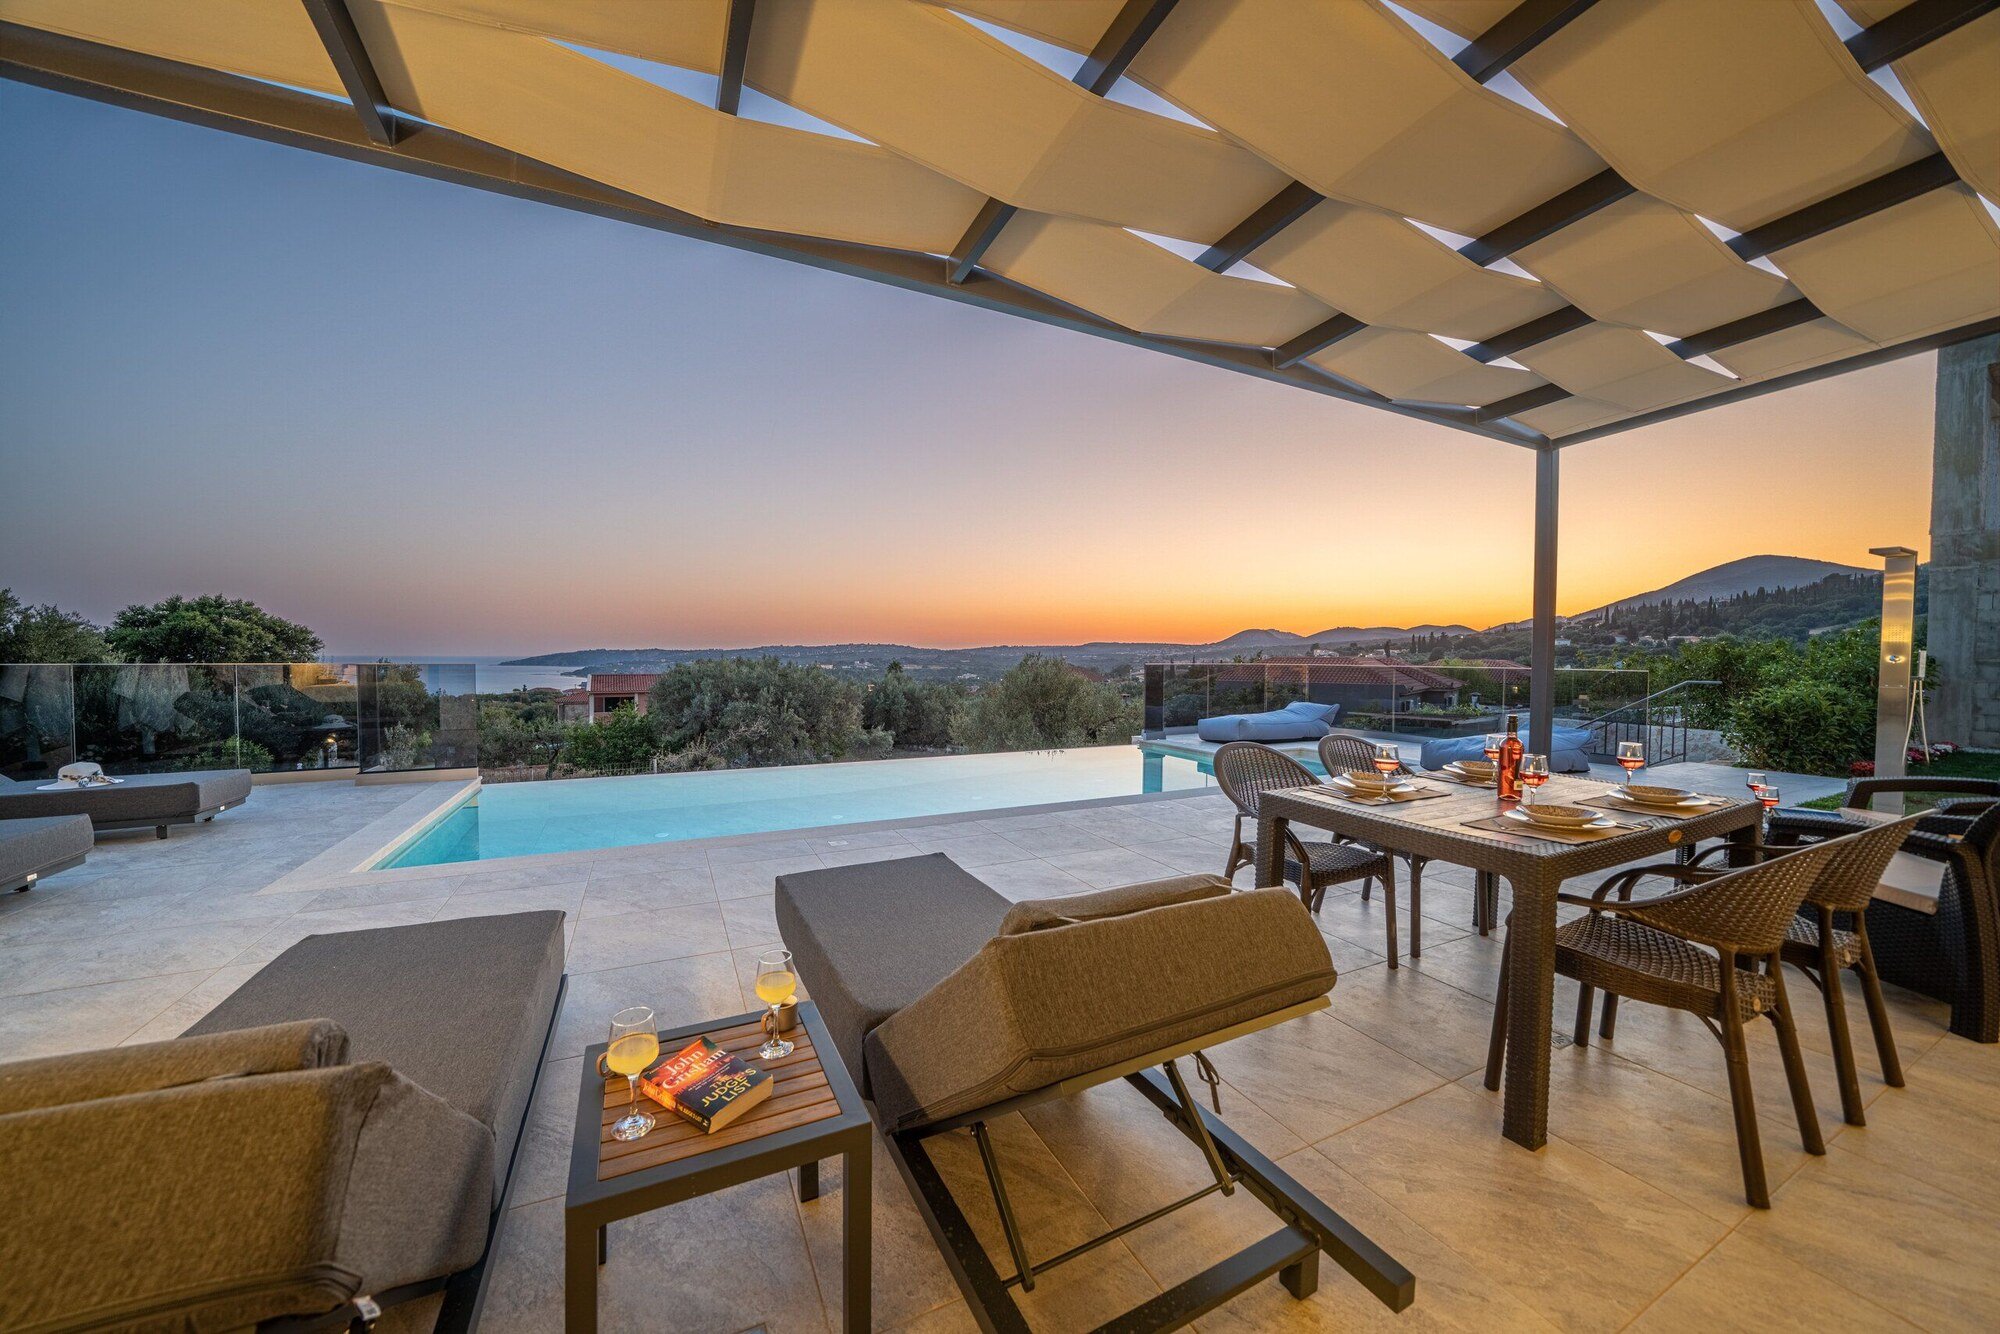
Step 7: Decking and Coping (3-7 Days)
Coping is the cap material that sits on the pool’s edge, covering the transition between the pool shell and the surrounding deck. Popular coping options include natural stone (travertine, limestone, bluestone), pavers, and poured concrete. The coping choice dramatically affects the pool’s aesthetic.
Decking surrounds the pool and provides the usable patio space. Options range from brushed concrete and stamped concrete to pavers, natural stone, and composite decking. The decking phase also includes any steps, retaining walls, and transitions to landscaping areas.
Step 8: Final Inspection, Fill, and Startup (1-2 Days)
Final municipal inspections verify that all electrical, plumbing, fencing, and barrier requirements are met. Once passed, the pool is filled completely, equipment is started up, and water chemistry is balanced. Your builder walks you through the complete operation of every system: pump, filter, heater, lighting, automation, and chemical management.
Complete Installation Timeline
| Phase | Duration | What Happens |
|---|---|---|
| Pre-construction | 1-8 weeks | Design finalization, permits, HOA, scheduling |
| Excavation | 1-2 days | Hole dug to pool specifications |
| Base prep & shell set | 1-2 days | Gravel base, crane delivery, shell placement |
| Backfill & leveling | 1-2 days | Gravel backfill with simultaneous water fill |
| Plumbing & equipment | 2-3 days | Underground plumbing, equipment pad, installation |
| Electrical | 1-2 days | Bonding, GFCI, lighting, automation |
| Decking & coping | 3-7 days | Coping installation, patio decking, finishing |
| Fill, startup & walkthrough | 1-2 days | Final fill, chemistry balance, equipment training |
| Total on-site work | 2-4 weeks | From first dig to first swim |
What Can Go Wrong (and How Good Builders Prevent It)
While fiberglass pool installation is significantly simpler than concrete, things can still go wrong when corners are cut:
- Improper excavation: An oversized or uneven hole leads to excessive backfill, potential settling, and wasted material. Prevention: precise excavation by experienced operators using the manufacturer’s specifications.
- Poor backfill material or compaction: Using native soil instead of clean gravel, or failing to compact in proper lifts, causes settling, shifting, and potential bulging of the pool walls. Prevention: clean crushed gravel only, compacted in 12-inch lifts with simultaneous water filling.
- Plumbing leaks: Underground plumbing that is not properly pressure-tested can develop leaks that are expensive to locate and repair after decking is installed. Prevention: mandatory pressure testing of all lines before backfill and decking.
- Insufficient drainage: Without proper drainage around the pool, groundwater pressure can build up against the shell, potentially causing it to shift or float in extreme cases. Prevention: gravel backfill provides natural drainage, supplemented by French drains in areas with high water tables.
- Access damage: Heavy equipment can damage driveways, fences, landscaping, and underground utilities. Prevention: thorough pre-construction planning, protective measures over driveways, and utility marking.
Installation Costs by Region
| Region | Pool Only (Installed) | With Full Outdoor Living |
|---|---|---|
| Southeast (FL, GA, TN, NC, SC, AL) | $45,000 – $65,000 | $80,000 – $150,000 |
| Southwest (AZ, TX, NV, NM) | $50,000 – $70,000 | $90,000 – $160,000 |
| Midwest (OH, IN, IL, MO, MN) | $50,000 – $70,000 | $85,000 – $155,000 |
| Northeast (NY, NJ, CT, MA, PA) | $60,000 – $85,000 | $100,000 – $180,000 |
| Mountain (CO, UT, ID, MT) | $55,000 – $75,000 | $95,000 – $170,000 |
| Pacific (CA, OR, WA, HI) | $60,000 – $90,000 | $110,000 – $200,000 |
How to Prepare Your Yard for Installation Day
A well-prepared property means a smoother, faster installation. Use this checklist:
- Remove fence sections along the equipment access path (minimum 10-12 feet wide)
- Clear away patio furniture, play equipment, and portable structures
- Trim trees and shrubs that overhang the access path or pool area
- Call 811 to mark underground utilities (do this at least 2 weeks before excavation)
- Confirm the driveway can support heavy equipment (excavators weigh 15,000-30,000 lbs)
- Plan for pet containment during construction
- Inform immediate neighbors about the project timeline
- Identify the soil disposal plan (keep for grading, or haul off-site)
- Ensure water access is available for filling and backfill process
- Verify electrical panel capacity for pool equipment (most pools need 60-100 amps)
Questions to Ask Your Pool Builder Before Installation
- What is your total installed price, and what is included versus extra?
- What is the expected timeline from excavation to swimming?
- What backfill material do you use, and how do you compact it?
- Do you pressure-test all plumbing before covering?
- Who handles permits, and what fees are included?
- What warranty do you offer on the installation workmanship?
- What is your plan if you encounter rock or high water during excavation?
- Do you include the startup chemistry and equipment walkthrough?
- Can I see examples of recent installations in my area?
- What is your policy on change orders and unexpected costs?
The ModernXPools Installation Difference
Every ModernXPools installation follows a rigorous process refined across hundreds of projects nationwide. We use premium crushed gravel for backfill (never native soil), pressure-test every plumbing line, install properly sized equipment matched to your pool’s specific requirements, and conduct a comprehensive owner walkthrough before we consider the project complete.
Our team understands the soil conditions, permit requirements, and climate considerations specific to your region, whether you are in Phoenix, Nashville, Dallas, Boston, or anywhere in between. We back every installation with industry-leading warranties on both the fiberglass shell and our workmanship.
Ready to start the process? Contact ModernXPools today for a free consultation and learn how our proven installation process delivers a premium pool on time and on budget.